Your Podcast Production Partner
Remotely Record Your Podcasts and Video Content With Us…
Remote Producers – No Studios!
Record | Edit | Distribute | Repurpose
Remote Producers – No Studios!
Record | Edit | Distribute | Repurpose

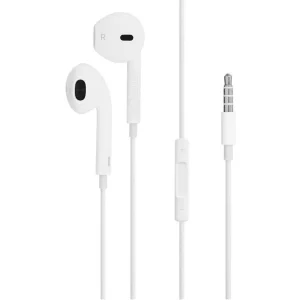
Although we strongly suggest using a proper microphone designed for podcasting, this guide will help you use your Apple earbuds on a Windows PC.
This guide will show you how to use Apple earbuds on PC when you want to improve the voice quality going into your Windows computer. While not nearly as good as a podcast mic, using Apple EarPods (Earbuds) with a microphone will bring the microphone closer to you in a consistent way while providing some noise cancellation.
This article will show you how to use your wired earbuds with a 3.5 mm Jack. This is one of the simplest methods. If you have EarPods with a 3.5 mm headphone jack, you’re all set to go.
However, simply plugging in your Apple earbuds to your Windows PC may not work without adjusting some settings.
Keep in mind that these adjustments may not work depending on your PC, its hardware, and sound functionality. We’ve listed a few tips further ahead in this post, so be sure to test them out before you give up.
We will explain how to make your Apple Earbuds work with your PC in four steps (plus the multiple ways to achieve each step):
So, how to use Apple headphones as a mic on your PC?
Now that we have all the required items, it’s time to connect your headphones to your PC or other devices.
IMPORTANT NOTE: We DO NOT suggest wireless anything for podcast recording, so we will not cover those in this article. AirPods are terrible for a podcast or video recording because they tend to amplify the wrong things and suppress your voice when you need it. Plus, battery and Bluetooth dropouts can be an issue. No AirPods.
For ease of understanding, we’ve simplified the process into four main steps.
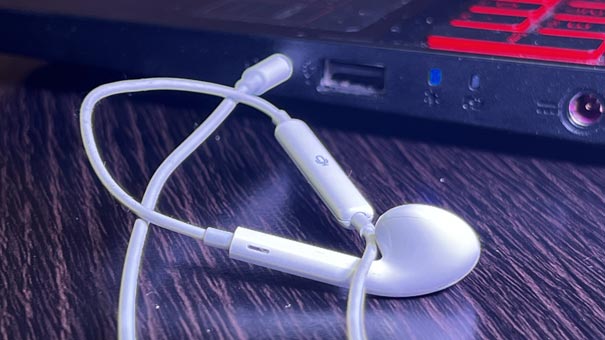
The first step is pretty simple. You need to connect your headphones to your PC. You need first to identify which port is designed for audio input.
These instructions are for modern PCs with a single port for incoming and outgoing audio. However, if you have an older model, you may see two ports. One for headphones and one for a mic. In this case, additional splitter hardware will be needed.
Once you’ve figured out the correct slots, plug in your Apple earphones. Depending on your device, you might get a notification that the headphones are connected to your PC. Part of the difficulty since Windows 11, is that by default there is no pop-up to ask if you want to use the newly plugged audio device.


If you didn’t receive a notification and you still can’t hear any sound, then you’ll have to do a little more work than just plugging in the headphones. You will need to change a few settings to ensure your PC can read the new device you’ve connected.
To start the configuration process, you need first to open the Control Panel or Settings. There are four ways you can go about this process:
Another way to access the control panel is by using the Quick Access menu. Here’s how:
The third way to access Control Panel / Settings is by using the Run function.
Once the Control Panel / Settings is open, it’s time to adjust the Sound settings. Now there are two ways to change your sound settings. One way is through the Control Panel, while the other method is through Settings.
Let’s go over both methods.
If you’ve opened Settings instead of the Control Panel, then you need to follow these steps:
Once the pop-up menu appears, you’ll need to adjust the recording settings.
This should do it.


If your PC is still not recognizing your Apple headphones, don’t lose hope just yet. There’s one more thing you can still do.
Both your earphones and mic should work once you’ve adjusted the settings.
As a last resort (if you have the time), you can purchase a 3.5 mm to USB-C adaptor that your computer will immediately recognize as it would any other USB headset.